Authenticating Your Collection
Configuring Collection Variables
While you can authenticate by entering your credentials on every API request, using Postman variables is much easier and safer. In Postman, you can create Global, Environment, or Collection variables. In this guide, we will be using Collection variables.
We can access the variables by selecting our collection and clicking the "Variables" tab at the top of the screen.

To authenticate, we need to create three variables and assign values to them in the "Initial value" field. Below is the list of variables.
- baseUrl—This is your Layar environment URL, e.g., https://YOUR_ENVIRONMENT, where YOUR_ENVIRONMENT is the name of the Layar server.
- clientid - This is the Client ID of your Layar user.
- secretkey - This is the Secret key of your Layar user.

Clientid and SecretkeyIf you are unsure where to find them, follow the guide here: Get API Keys
Before leaving the page, commit these variables by clicking the "Save" button in the top right.

Configuring Authorization
The variables we just created can be used in the "Authorization" tab, which is located in the same toolbar as the "Variables" tab.

The type of authorization we will be using is OAuth 2.0, and the authorization data will be added to the request header.
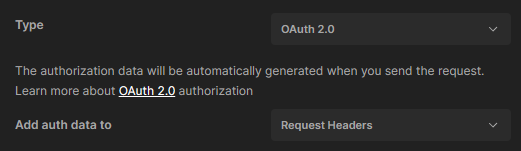
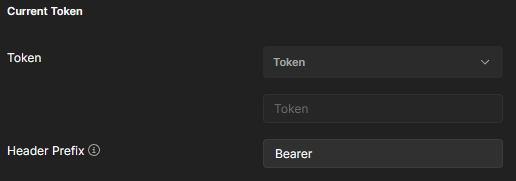
While we do not have a token currently, we can give it a Header Prefix of "Bearer".
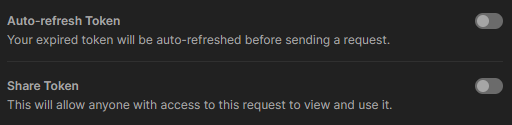
For this guide, we will not auto-refresh or share the token.
Now, we can configure our token details. To use the previously created variables, Postman requires us to enclose the variable name in double braces. The "Access Token URL" will already be filled out for you.
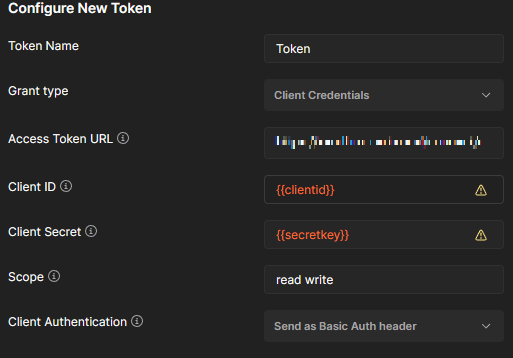
Postman VariablesIf you are interested in learning more about Postman variables, you can find information here: Postman Variables
After entering your info, click the "Get New Access Token" button; after a short time, you will get the following window with a token in the "Access Token" field.
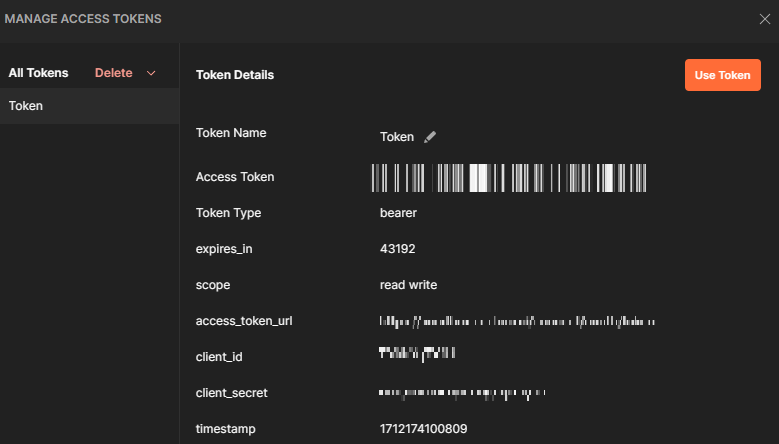
If desired, you can rename the token. Once you are satisfied with the details, click the "Use Token" button. The token field on the previous screen that was initially blank is now filled in with the token we just created.
Updated 9 months ago